When I made the decision some months ago to stick around New Zealand for longer than I anticipated, I did so for a variety of reasons- a fantastic circle of friends, a good job opportunity, an unbeatable lifestyle and a New Zealand bucket list that seemed to stretch from Cape Reinga to Bluff. Perhaps unsurprisingly, this bucket list only continues to grow the longer I remain based in beautiful Queenstown.
Over the past year or so I’ve developed a newfound love of the outdoors – it’s easy to do whilst backpacking in New Zealand. Especially here in Queenstown where you’re surrounded by mountains, lakes, multi-day treks, mountain bike trails, rivers and about every outdoor activity you can dream up (and more).
This is a country of jaw-dropping landscapes that only get more iconic the further off the beaten track you go.
High up on my New Zealand bucket list was climbing Mitre Peak. This iconic mountain is found deep in Fiordland National Park on the majestic Milford Sound. The tens of thousands of visitors that arrive in Milford Sound each year know it well, and chances are if you come backpacking in NZ you’ll take in its awe inspiring presence from the comfort of a cruise on Milford Sound (odds favor it to be raining, as Milford Sound gets an astonishing 7 metres of rainfall each year).
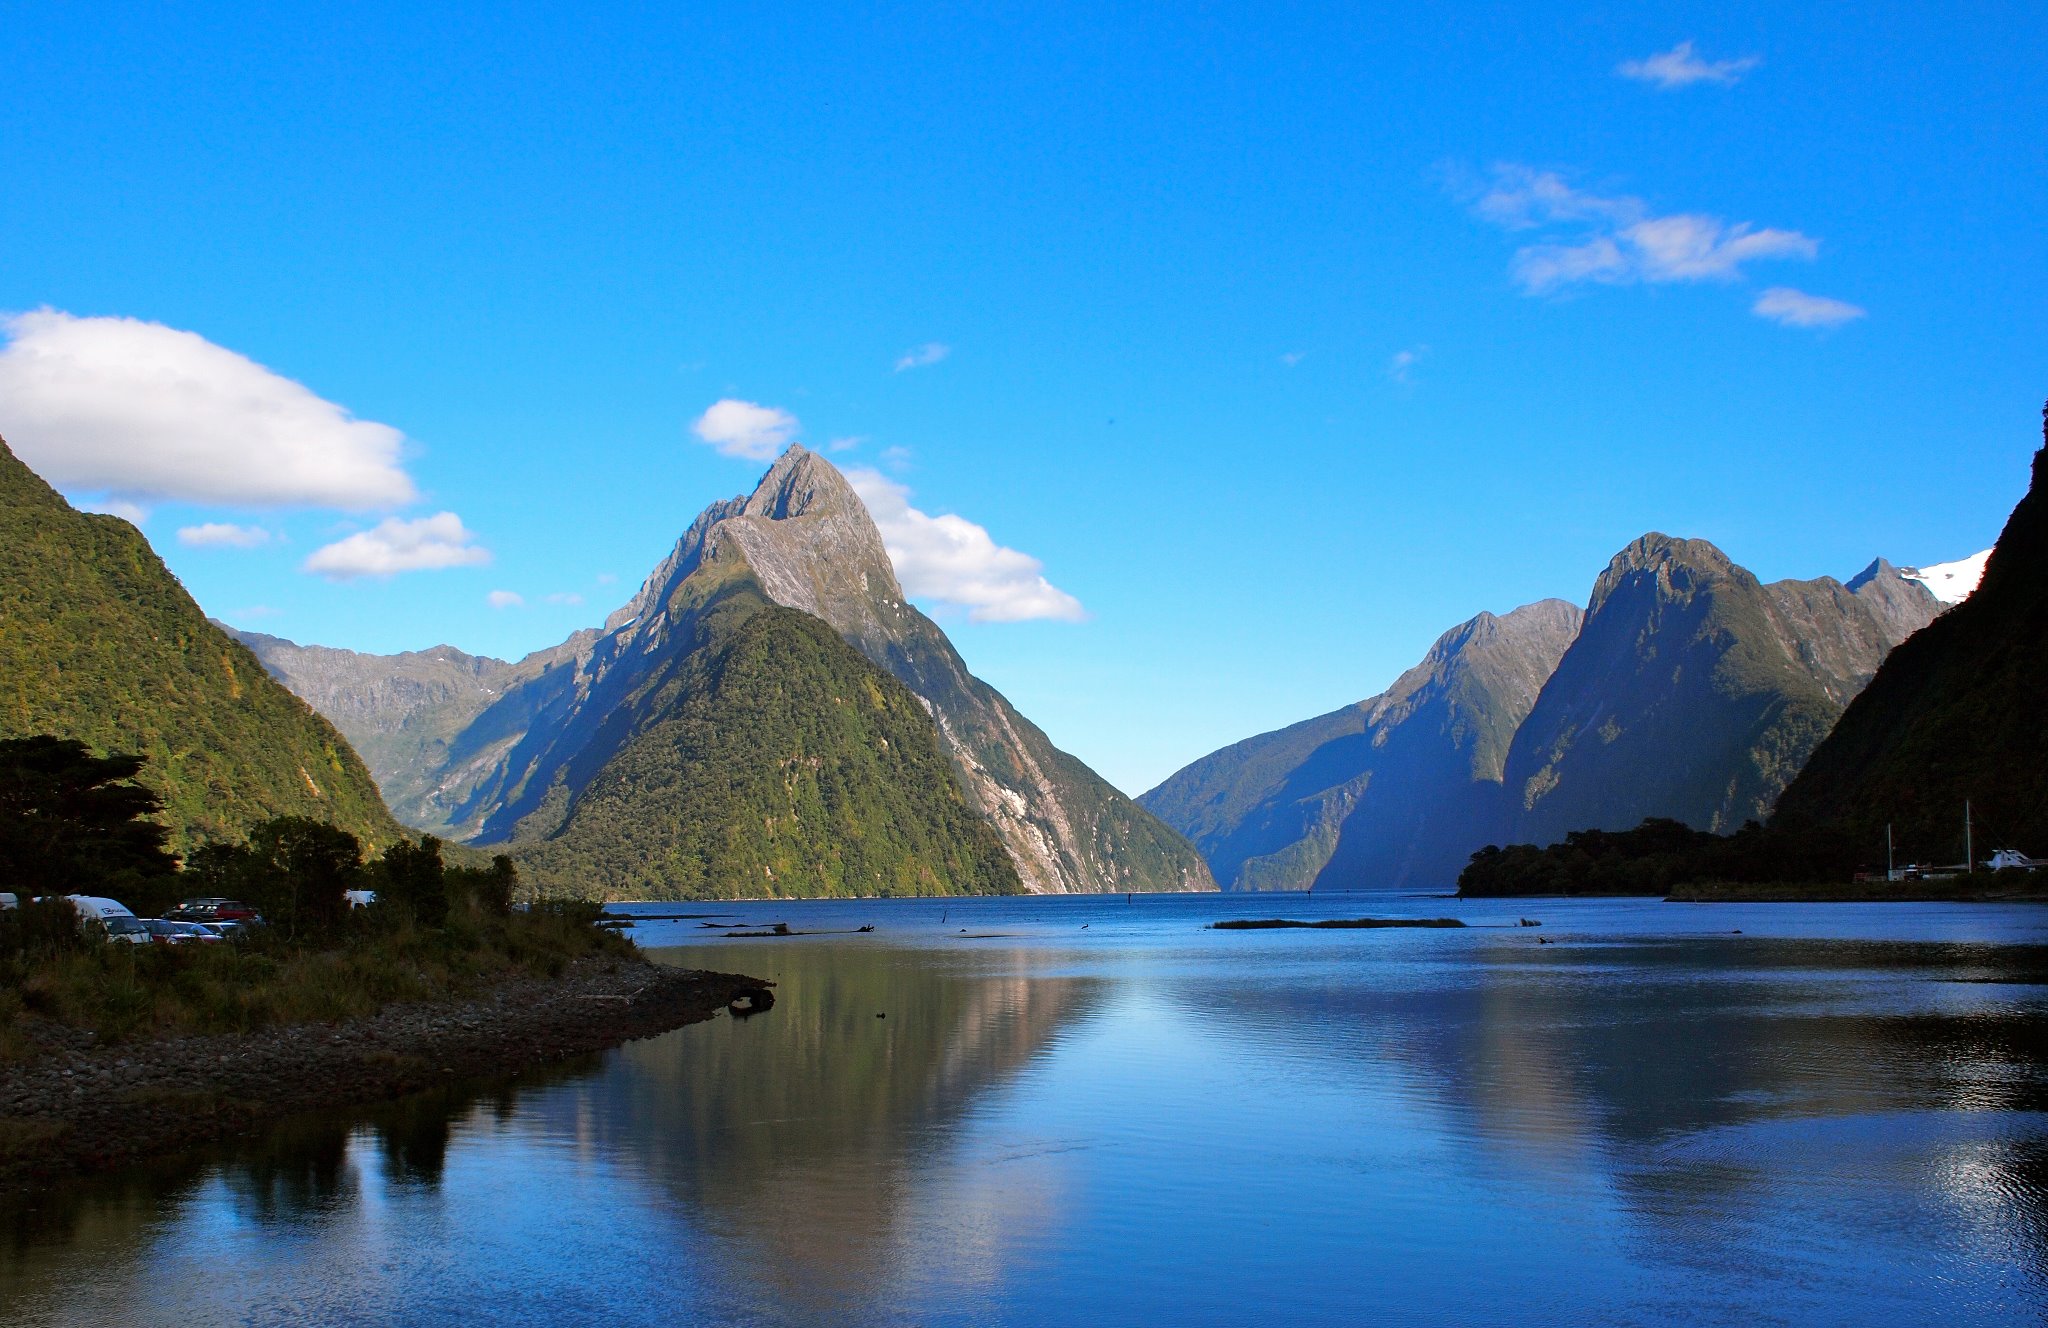
Mitre Peak’s summit sits over a vertical mile directly above Milford Sound – 1,692 metres (5,551 feet) above sea level. It’s a hugely demanding climb and one that should not be taken lightly. The track through the thick Fiordland bush is unmarked, the route above the bushline is hugely exposed and it’s a demanding mission regardless of how you tackle it.
Needless to say, I was terribly excited at the prospect of summiting Mitre Peak, yet bloody terrified at the same time.
This isn’t a mountain you’ll decide on a whim to climb; tackling Mitre Peak will take weeks of planning, a clear window of weather, a support crew to bring you to the other side of the sound and a significant level of physical fitness. You’ll also have to be comfortable with significant exposure down the sound thousands of feet below you. As such I was lucky to head up with an experienced crew with plenty of backcountry experience and a solid knowledge of roped climbing.
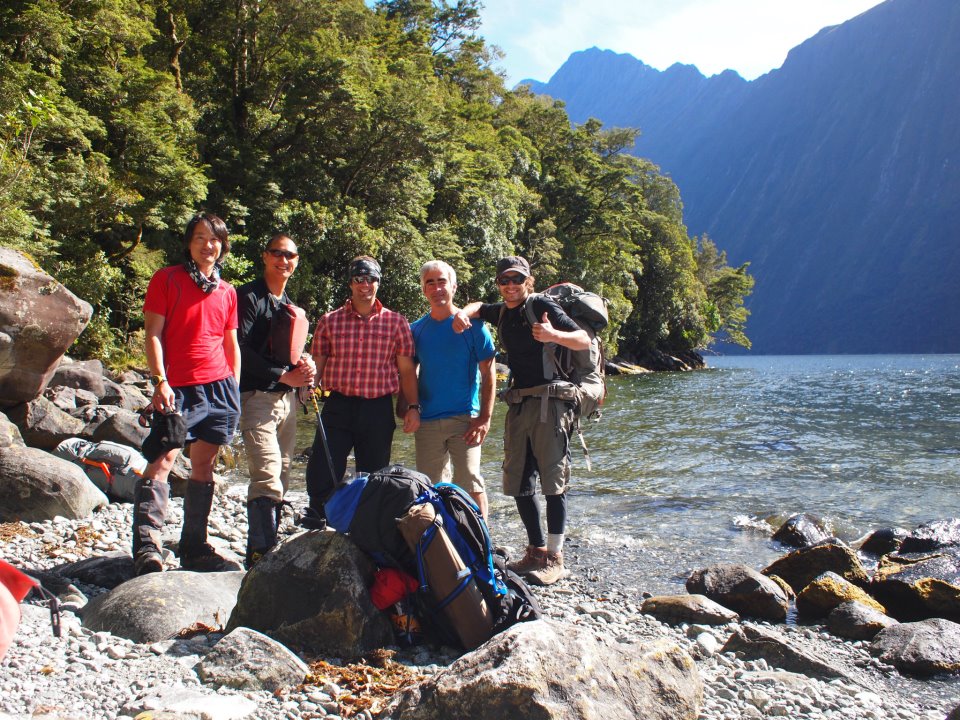
A number of aspects make climbing Mitre Peak extremely challenging –
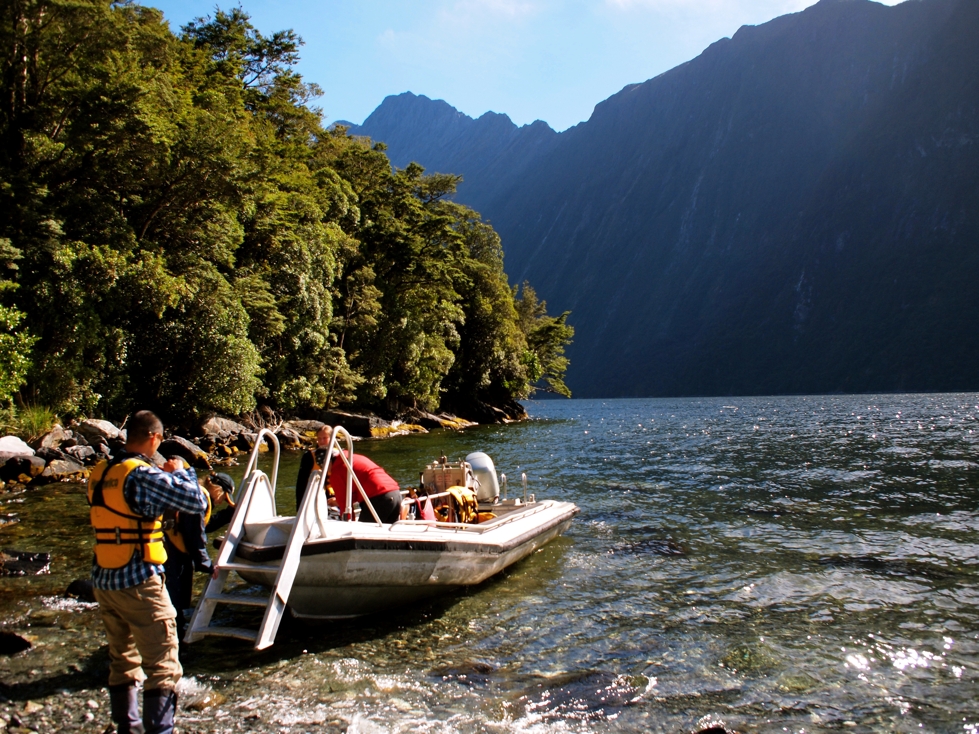
- Access: In order to climb the peak, you’ll have to get across sound from the Milford Sound Wharf – you can arrange for kayak hire or a water taxi with a local operator.
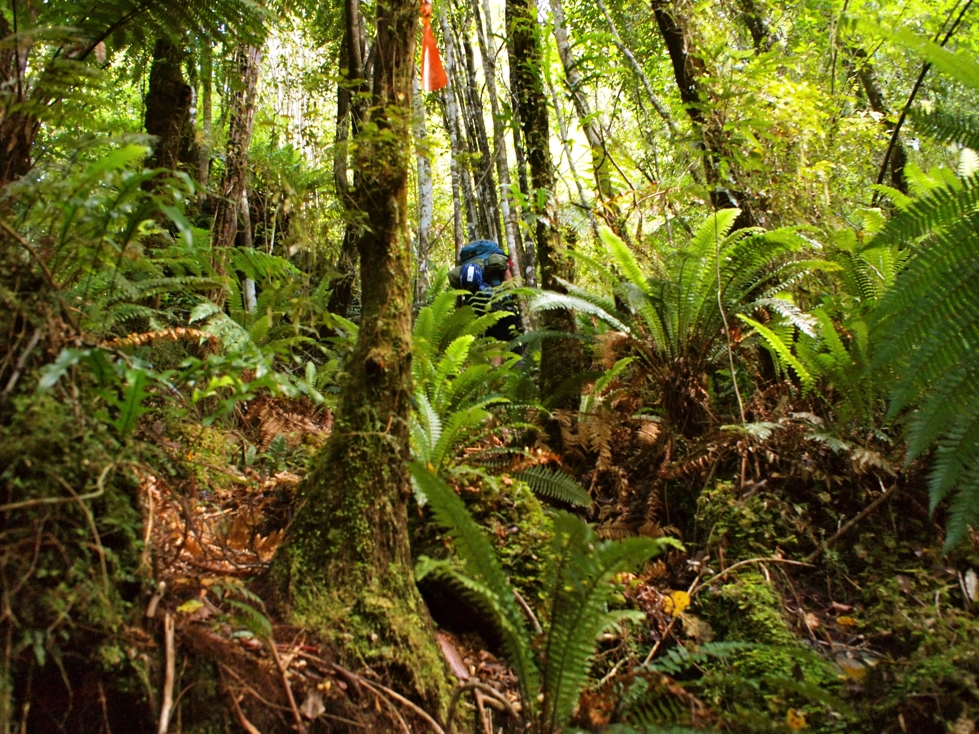
- Thick Bush: The track through the bush is essentially unmarked. Enough people attempt the climb each year that much of the bush is tracked over, yet you’ll inevitably stray off the trail. Bush bashing is hugely tiring, especially when you have two days worth of gear in your pack and are gaining significant elevation.
- Lack of Water: Perhaps one of the few tramps or climbs in New Zealand where you’ll have to take all of the water you’ll drink over the course of two days. As you’re climbing a ridge line all the way, fresh water is difficult or impossible to come by.
- Weather: As Milford Sound sees almost 7 metres of rain each year, finding a window of clear and dry days can be challenging. You wouldn’t want to try summiting within hours after a heavy rain as the exposed sections would be especially treacherous.
- Exposure: Whilst this isn’t a technically demanding climb, it is extremely exposed. Ropes are recommended for portions unless you’re a very comfortable climber. Expect ridgelines, scrambles and downclimbs where there are literally thousands of feet between you and the sound below you.
Nevertheless, it’s a fantastic mission and highly recommended. The views are quite simply out of this world.
Arriving at Sinbad River
Climbing Through the Bush
A Taste of What is to Come
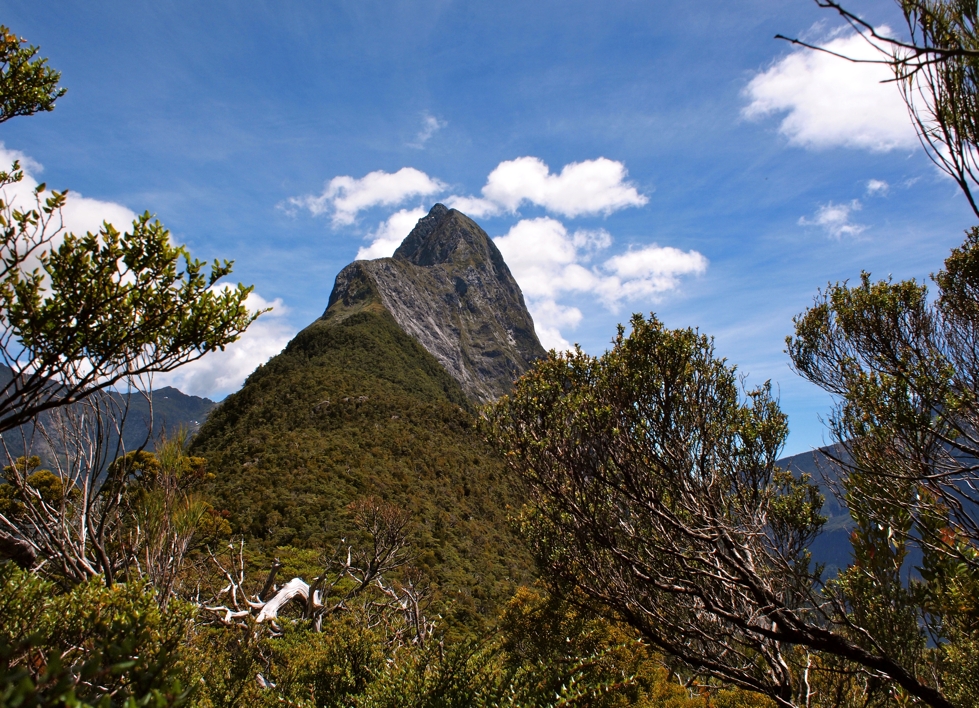
After a solid three hours of bashing through thick Fiordland bush we were greeted with the somewhat ominous view of what we would be climbing 24 hours later.
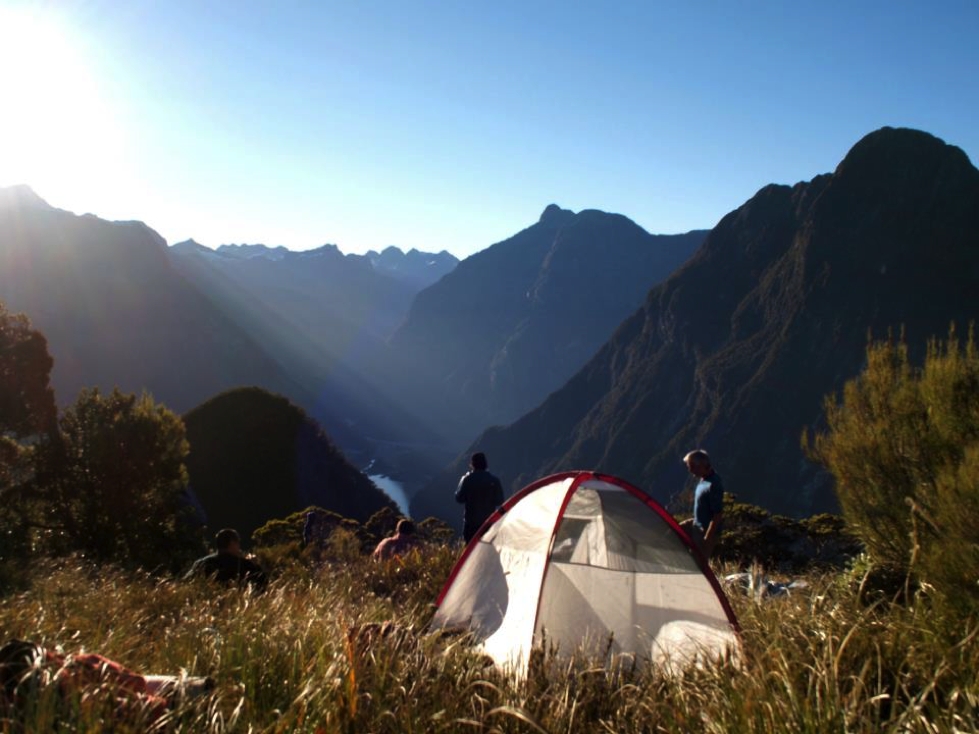
View from Camp at 900 Metres
We arrived at camp after a solid 6 hours of bashing through the bush – absolutely shattered yet quickly rejuvenated by the sunset views. This is about spot 900 metres on the map and there is one more spot to camp about 100 metres further up; we opted to stay here due to fatigue and the thought that this would be more protected from the wind.
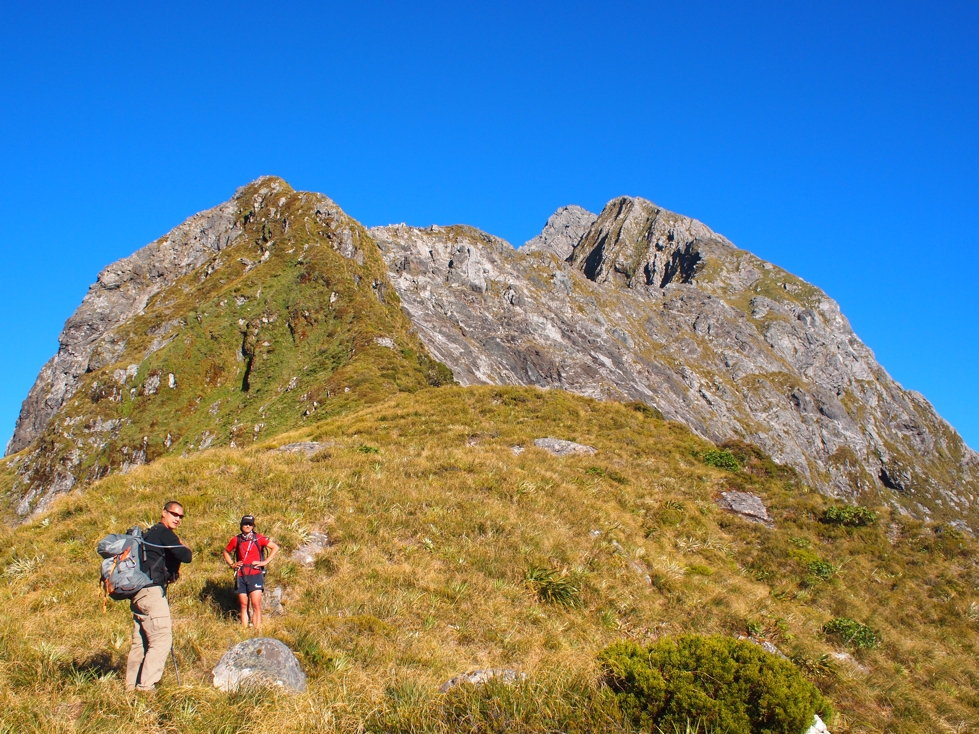
The Climb Continues
Here you can see the ridge we will follow and Mitre Peak’s summit in the distance.
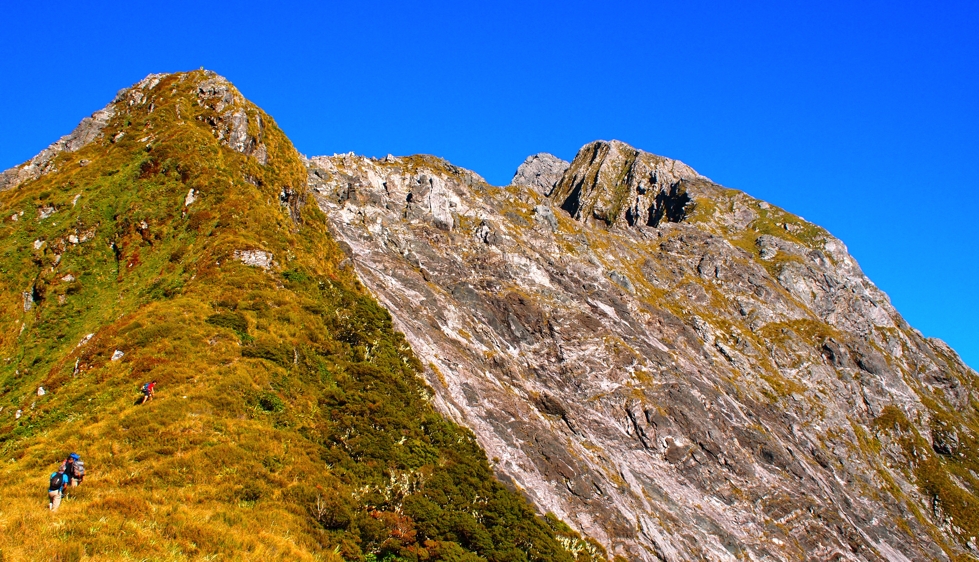
Steep Tussocked Ridge
The climb continues here up the steep ridge. This is where the exposure begins; whilst this slope was essentially vertical, there were solid foot and hand holds in the grass. Vertigo begins to set in as you peer down to your right and see the sound and the boats so far below.
Epic views from here and this would be a good spot to turn around if you weren’t keen for serious climbing.
Big View Back Towards Milford Village
Climbing up the ridge – huge view back towards Milford Sound Village and airstrip.
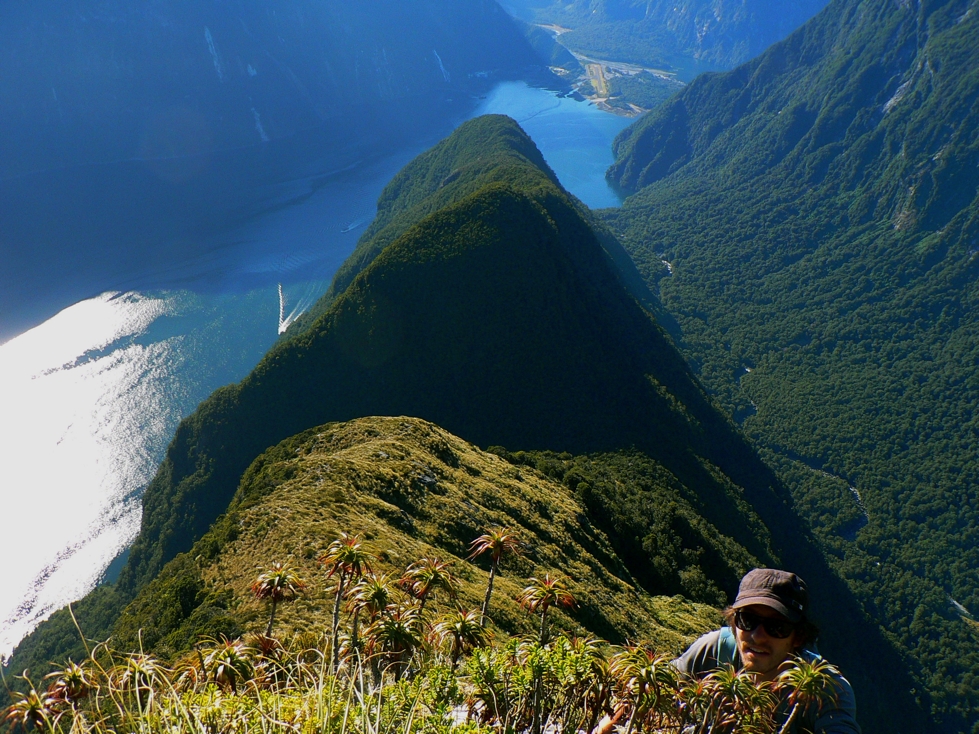
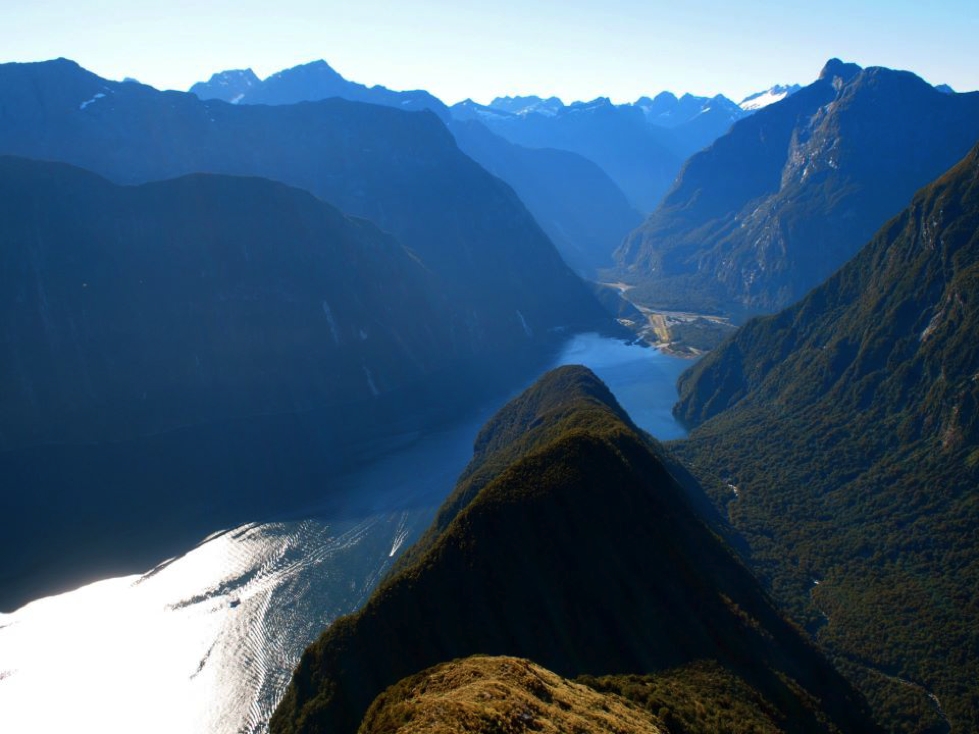
View Opens Up
The view opens up to the snowcapped mountains beyond Milford Village.
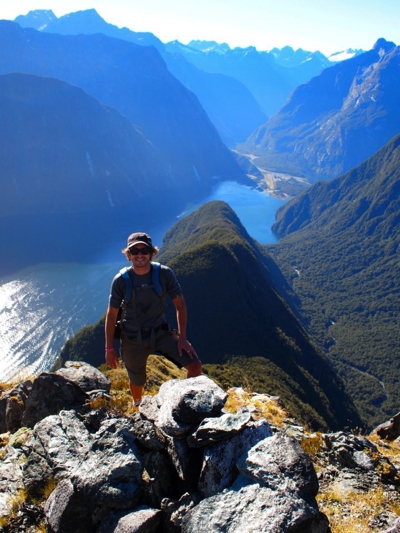
Don’t Lean Back
Feeling quite accomplished here, yet very aware the most exposed climbing is yet to come.
Knife Edge Ridge
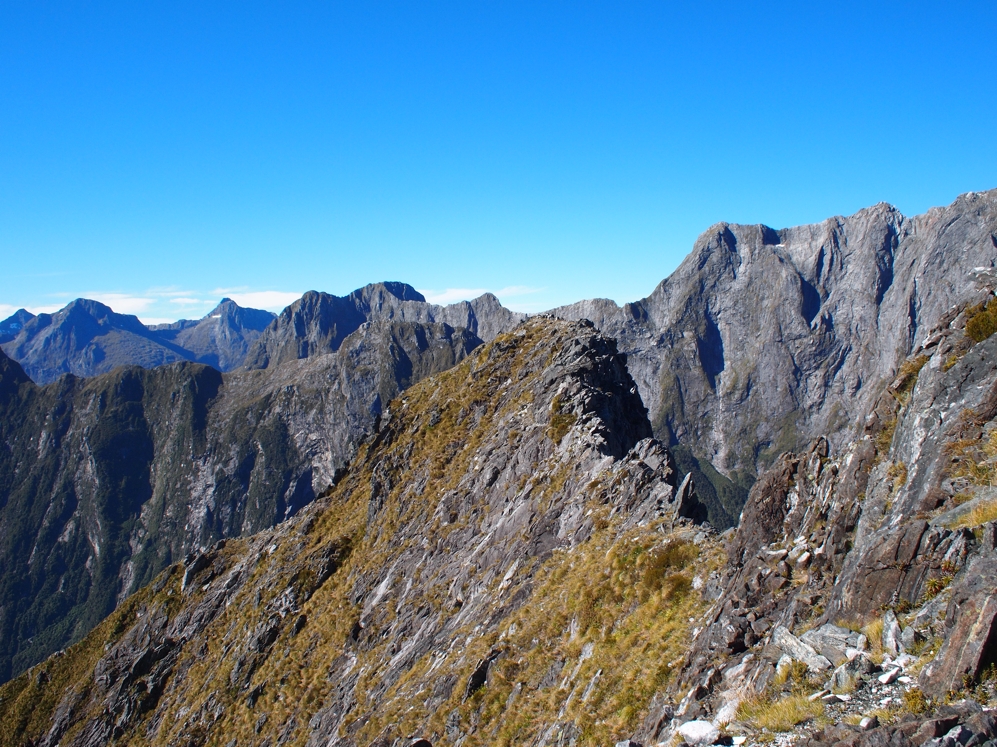
The following three pictures show the knife-edge ridge you’ll have to scramble across. This is ‘easy’ scrambling with 1 – 1.5 metres worth of rocks to scramble over, yet there are definite ‘airy’ drops on either side: 1,000+ metres to either Milford Sound or Sinbad Gully.
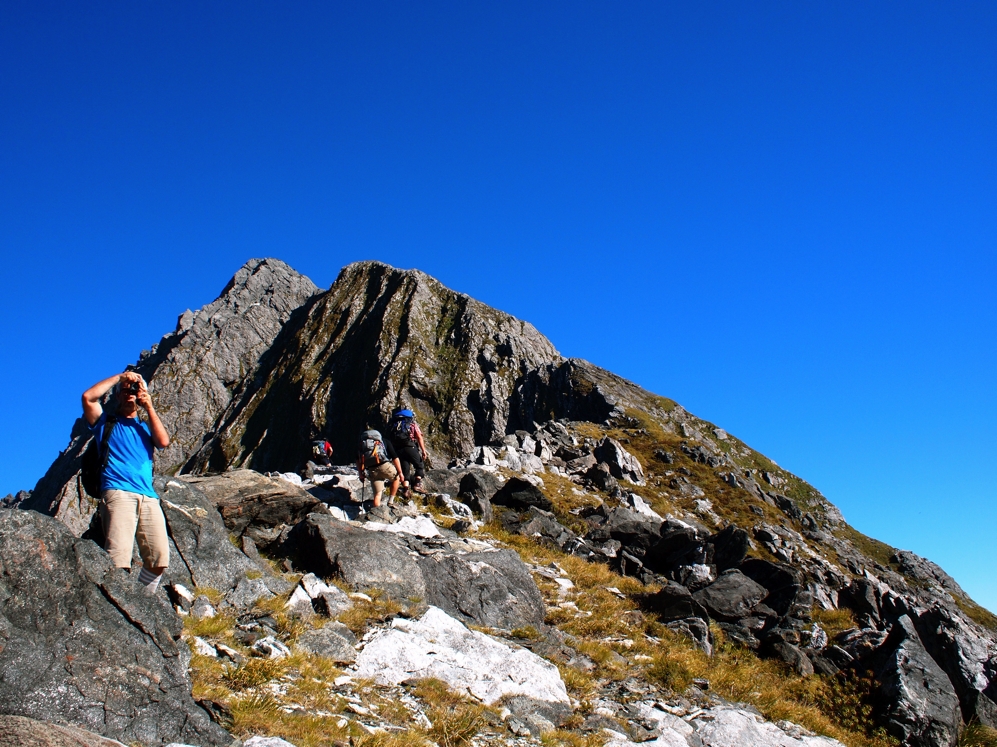
Looking back at the ridge…
Scrambling Across the Ridge – Big Drops on Either Side.
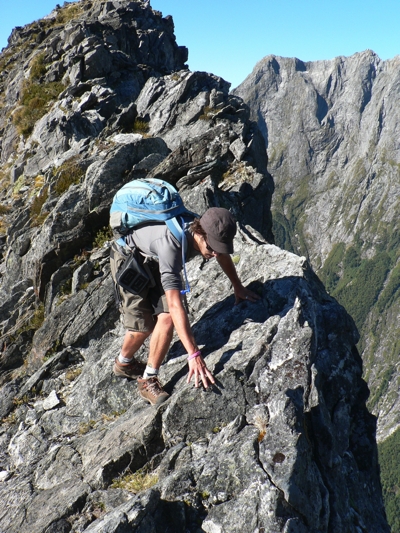
Don’t Look Down…
A taste of the exposure.
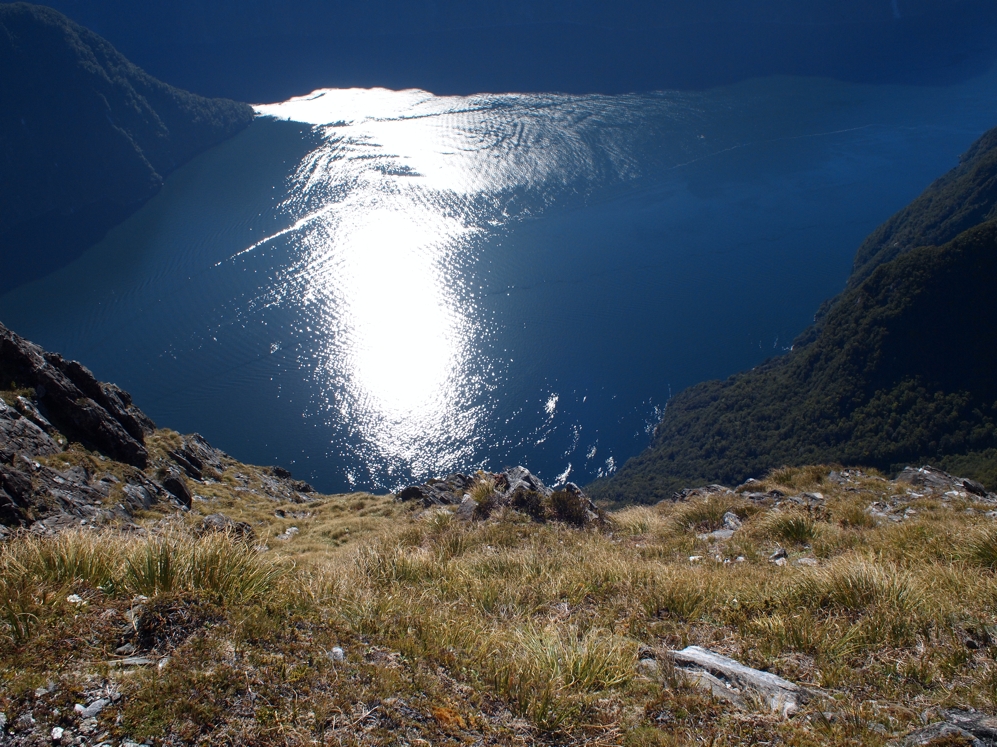
Big Drops.
A telling view of the ridgeline we followed up Mitre Peak.
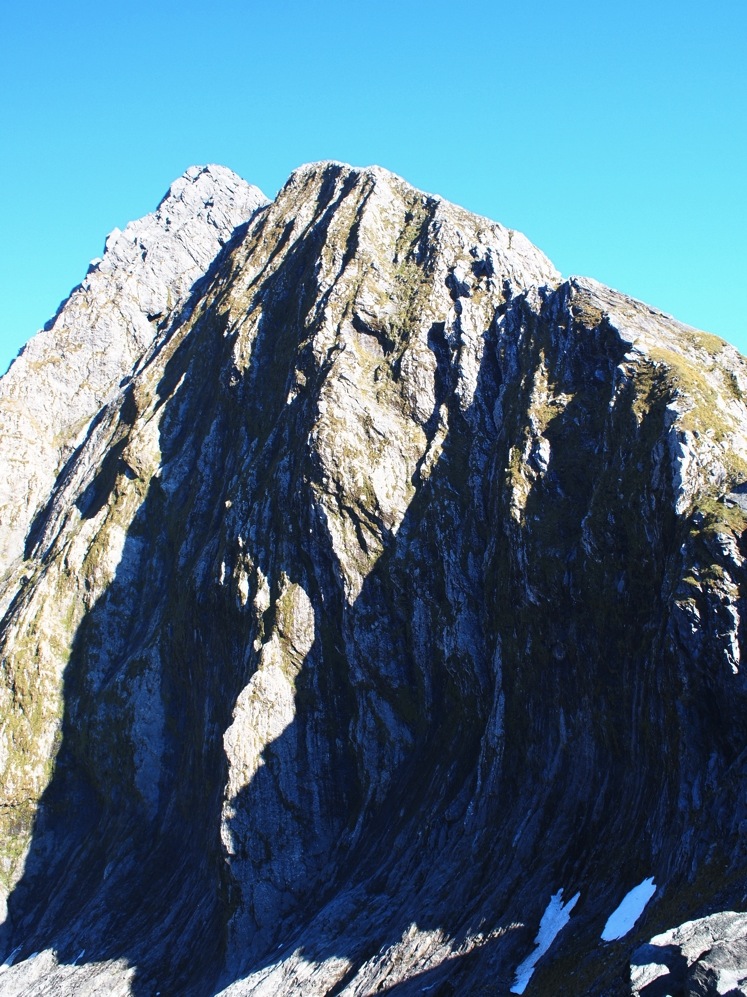
After the hairline ridge (photos above), it was into the harnesses and onto the ropes. It’s one thing to scramble across a ridgeline, yet downclimbing with significant exposure followed by a big climb back up is significantly more wearing – both mentally and physically. If nothing else, the rope provides a false sense of security that results in more confident climbing – crucial under these circumstances.
On the Rope
Can you spot three of us?
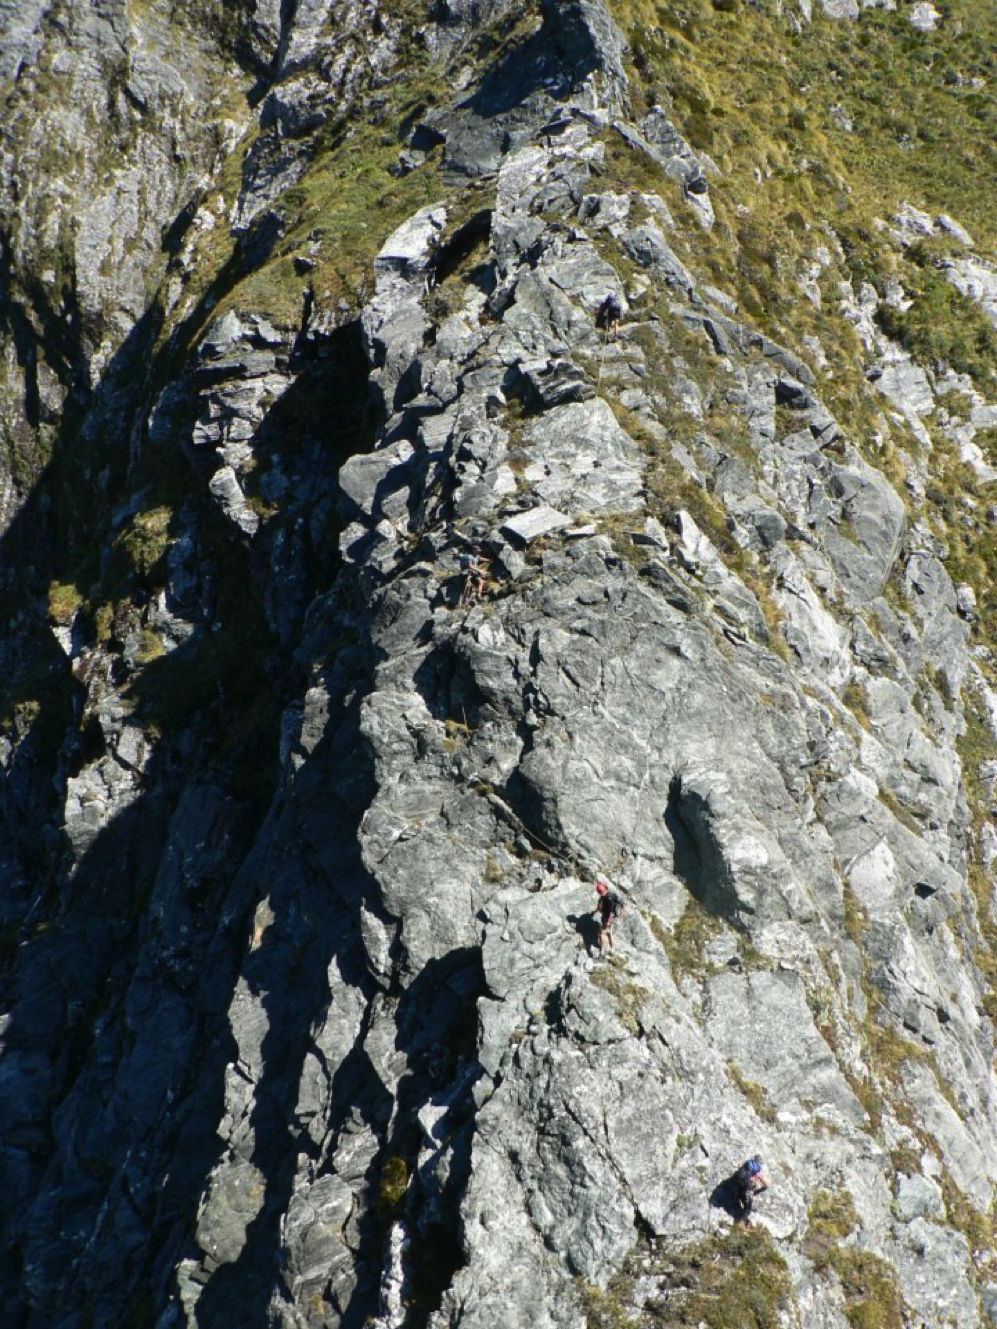
Looking Down on Knife Edge Ridge
Here you can see the ridge we crossed, beyond that the bush we bashed through and beyond that Milford Village. The adrenaline was flowing here as we were well and truly exposed.
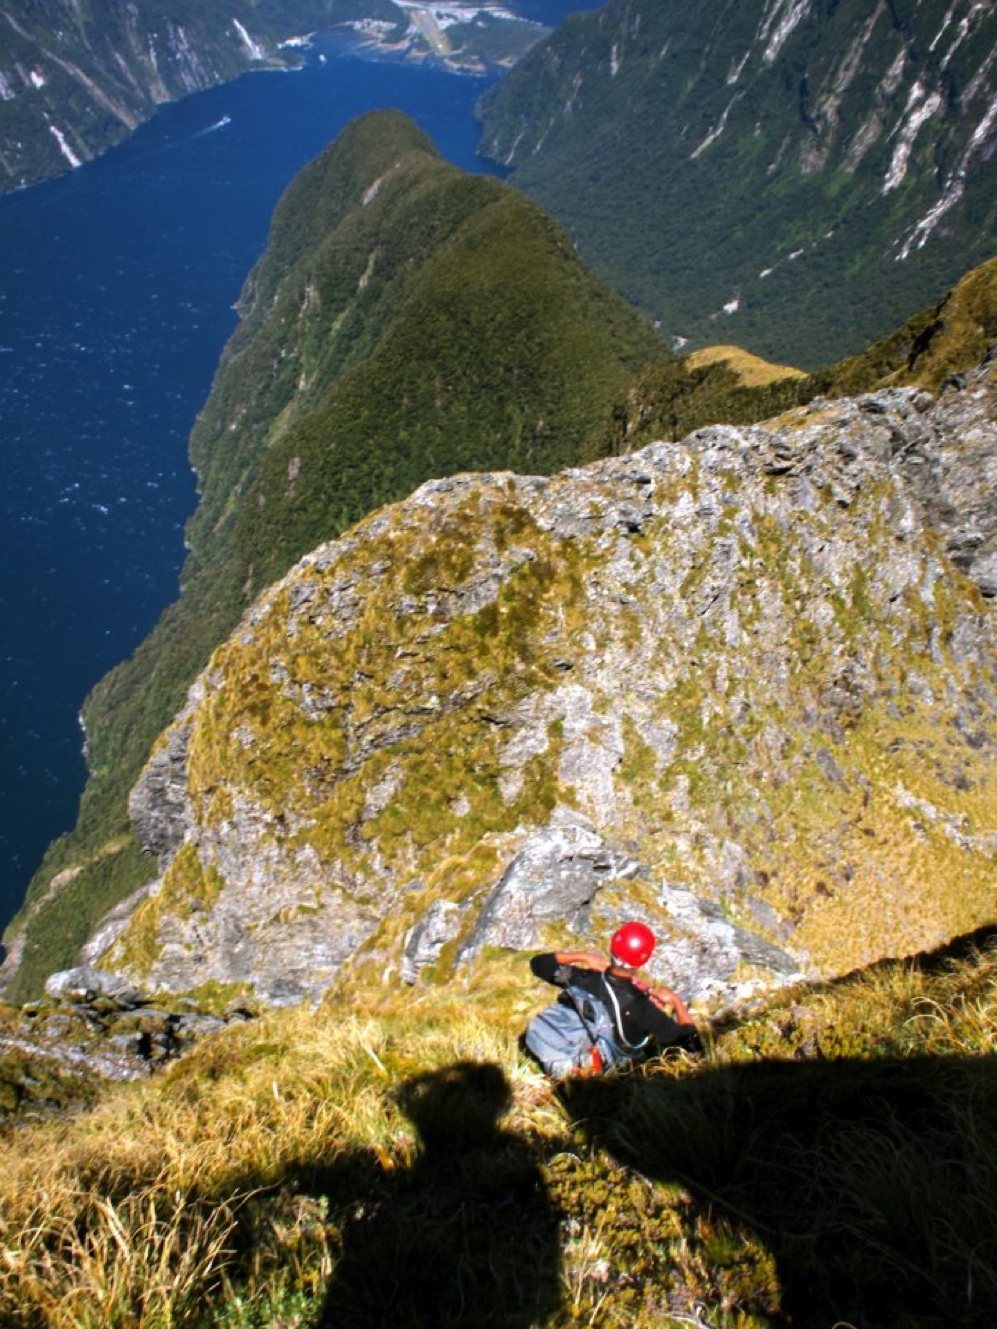
More Exposure and Rotten Rocks
This was the most challenging section of the climb. The exposure was compounded by rotten rock and wet sections that had been in the shade all day. Big feeling of achievement after we passed through this.
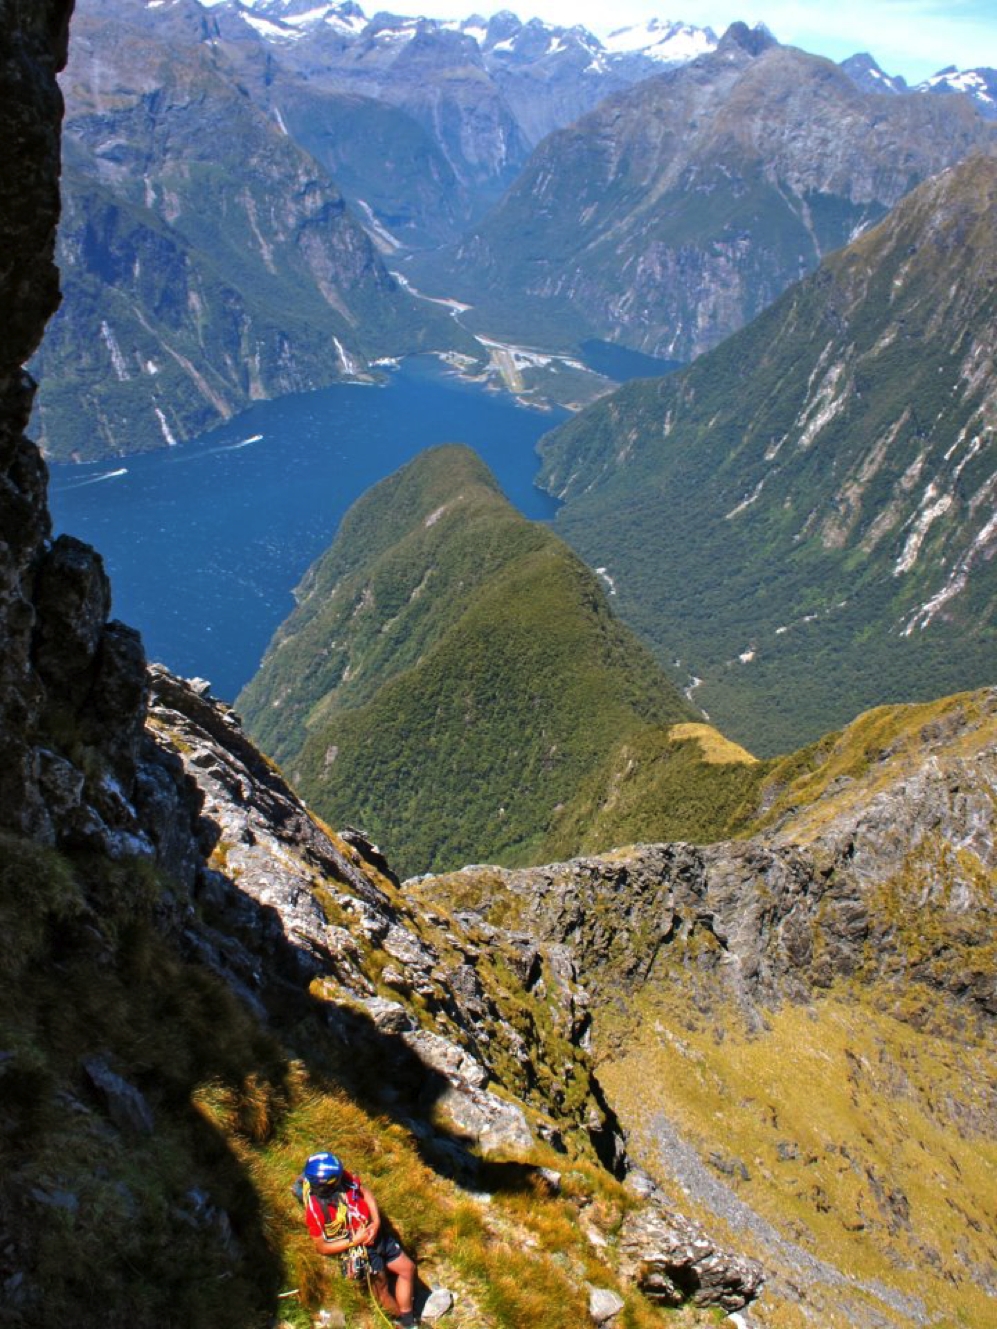
Big View
Looking back on Milford Village
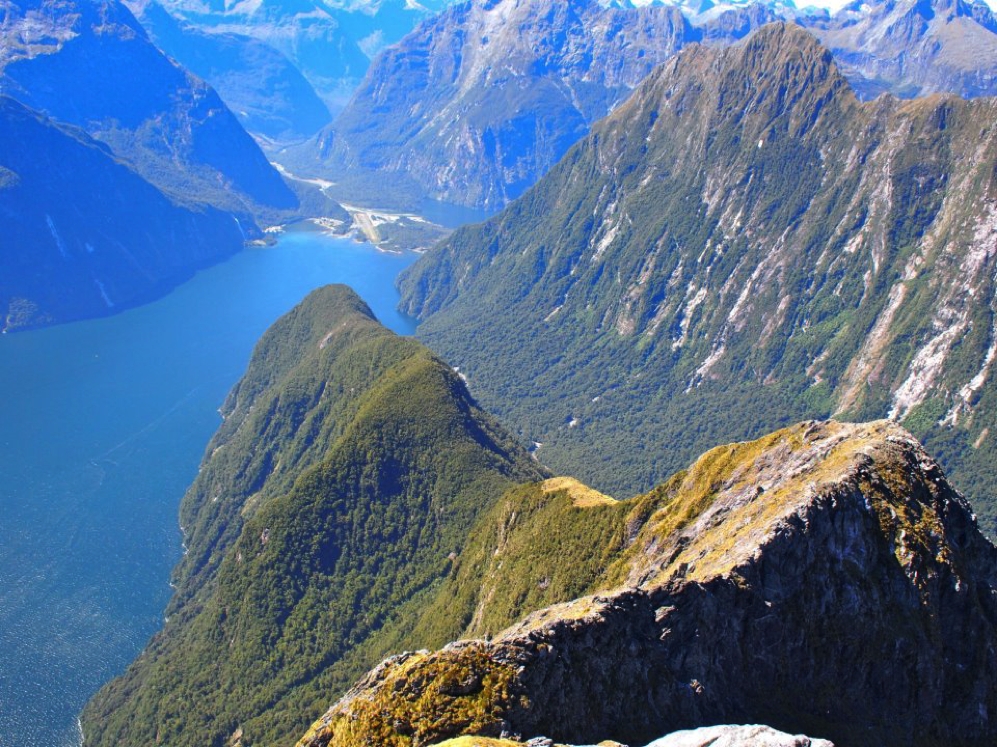
Nearing the Summit
Toshi pops up over the edge as we near the summit.
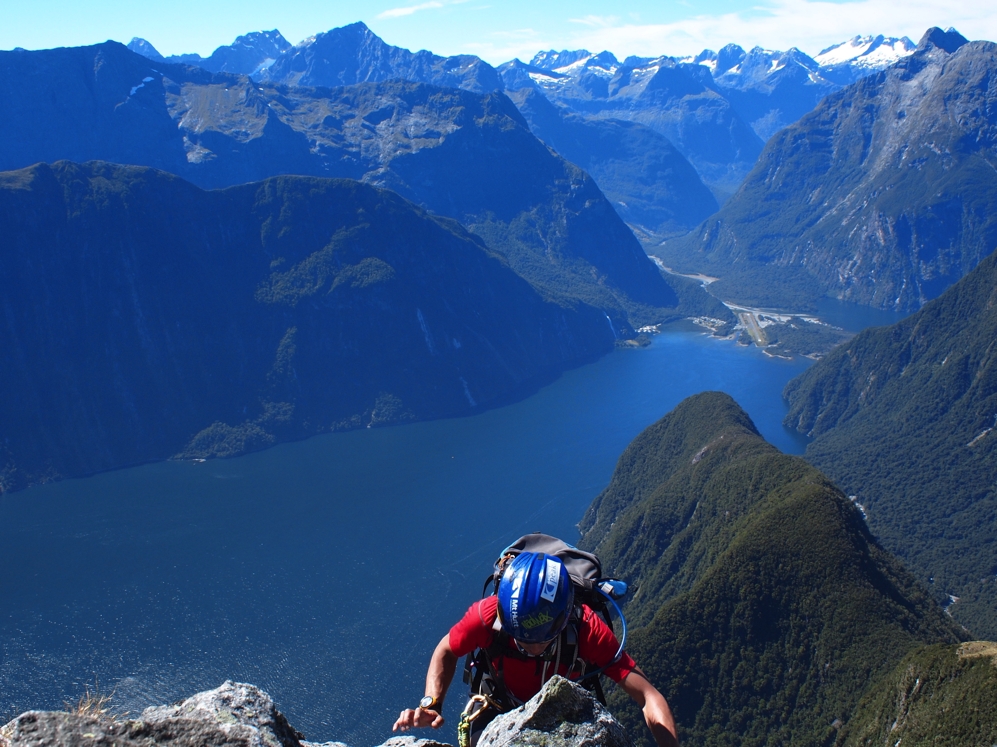
Big Achievement
As it turns out, we got to within about 45 minutes of the summit but were forced to turn back as we were running short on both time and water – two things you don’t want to risk in an alpine environment. Whilst we all would have liked to sit at Mitre Peak’s proper summit, we were well happy to have made it where we did.
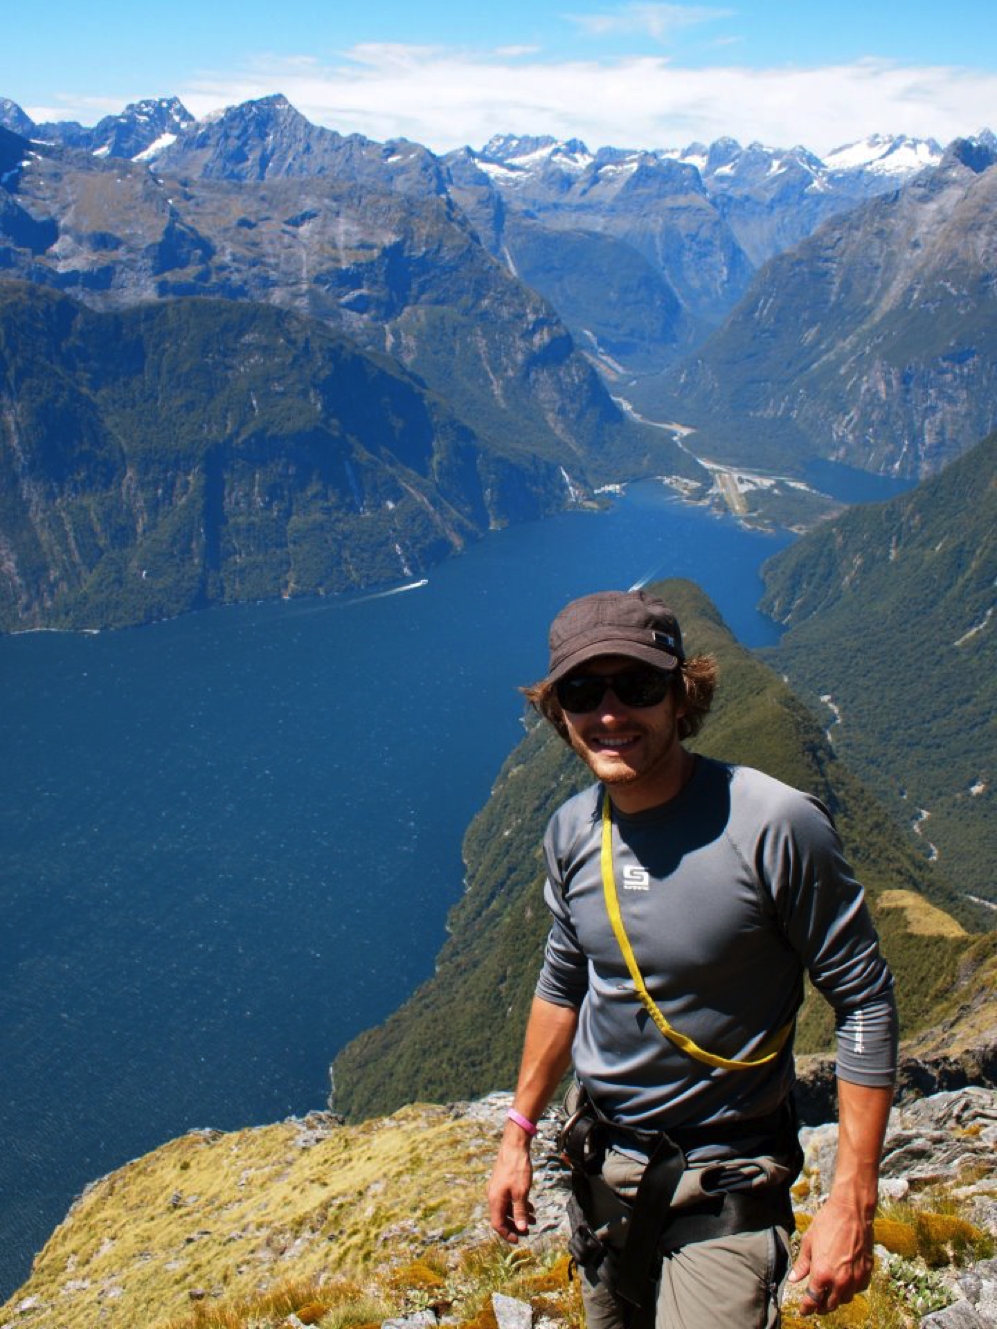
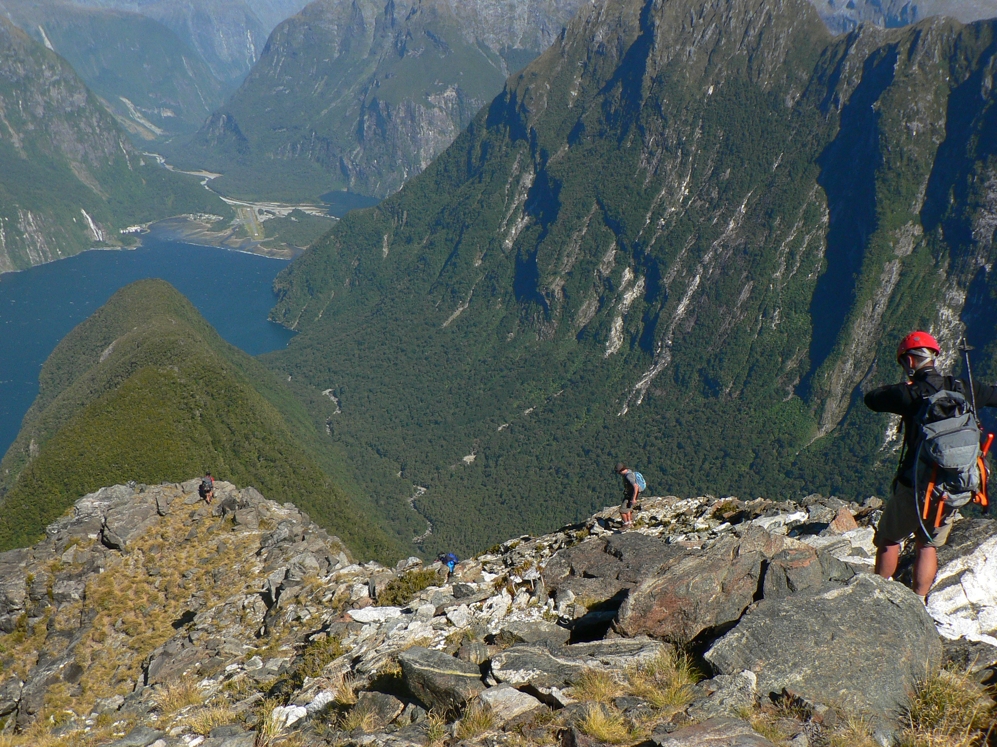
The Down Climb Begins
The grueling downclimb begins. We ultimately spent an extra night on the mountain as we ran out of daylight and had difficulty finding the correct track down through the bush. If you’re climbing Mitre Peak, be sure to make a solid mental note of where you come out of the bush and into the clearings.
Back at the Wharf
Thirsty, hungry and exhausted – delighted to be back to civilization and ready for a pint.
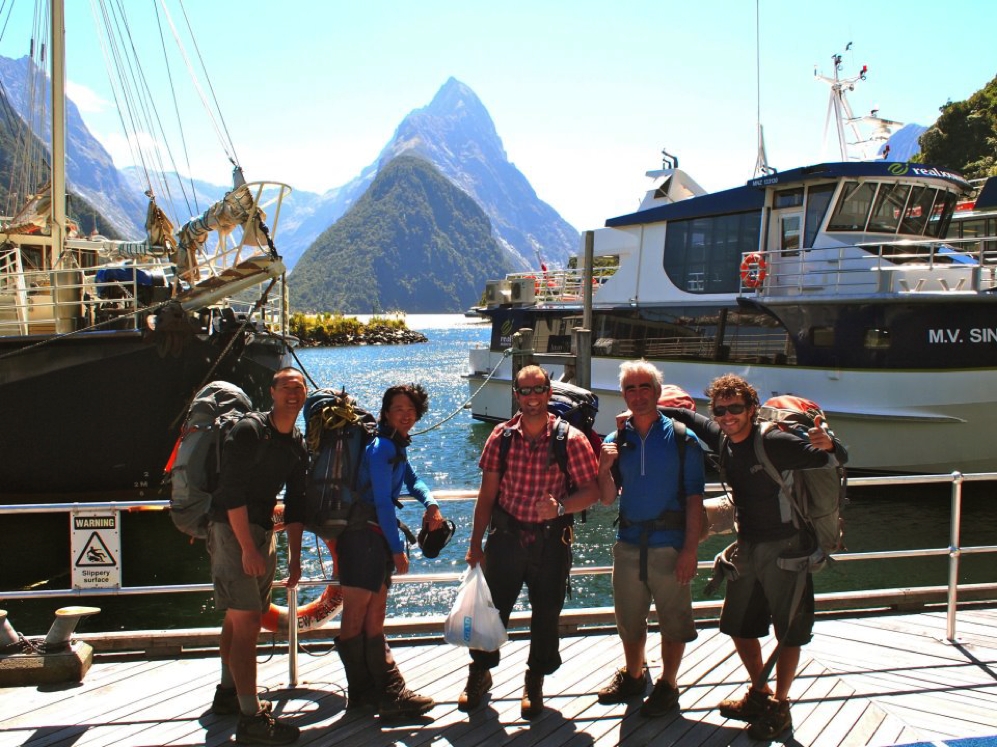
We knew Mitre Peak would be big; as it turns out, the mission ended up being significantly bigger than any of us expected. We were short on food and water and relied on puri-tabs and puddle water to last us for our remaining 12 hours in the bush.
Climbing Mitre Peak was a mission of epic proportions and I’ll forever use ‘epic’ in an entirely different context.
Would you be interested in climbing Mitre Peak? Let us know in the comments section below. Considering it and have questions? Email me at matt at backpackingmatt dot com and I’ll do my best to answer any questions you might have.



 Backpacking Matt


